
Five Essential Steps for Repairing Your Own Tools
Published by Priscilla on 10th Jun 2015
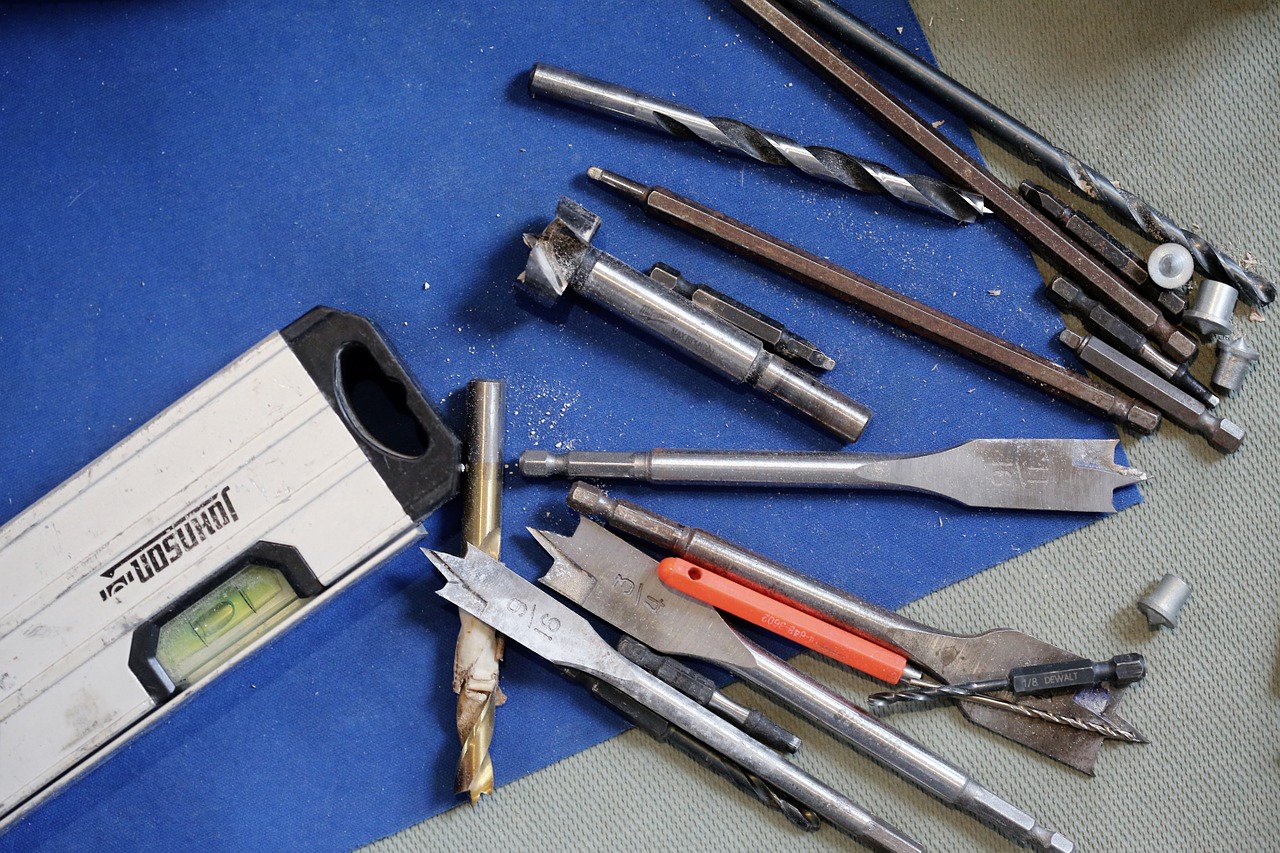
Repairing your own tools can be a great way to save money. There's no additional markup on parts, and you don't have to pay for someone else's time. But before you start in on a repair, we'd like to give you a few suggestions for thing to consider before you begin, ways to prepare, and things to do during the repair.
1. Decide Whether the Repair is Worth ItBefore making any repair, you must understand that you do so at your own risk. You could be injured. You also might further damage the tool, even to the point that it can no longer be repaired. Now, that might seem like a worst-case scenario, and it is really. But people actually do injure themselves and break the tools they are trying to fix. If you aren't familiar with the procedure you should consider the risk, especially if the fix would involve dangerous tools or parts. |
|
Sometimes, fixing the tool yourself will also invalidate a warranty. Often, opening up your tools and fiddling with them yourself can invalidate the manufacturer's warranty. If you tried to fix it yourself this time, you might be out of luck the next time your tool breaks. If the damage is covered under a warranty, you should just take it back to the manufacturer. Taking it in to be repaired will make use of that warranty, and you're sure to have someone work on your tool who knows what they're doing. If the damage is serious enough, you might even end up with a new tool. A new or expertly fixed tool that is still covered by a warranty will always be a better option than a potentially broken or working but worn down tool.
If the tool still works, you're not confident in your own ability to fix it, and you can't afford to be without it if you really screw it up, you should take it in to be repaired by a professional or wait until you can buy a new one. Only attempt a repair if you know what you are doing, or if you've exhausted all your other options and aren't worried about potentially breaking the tool permanently.
Remember that you will be responsible for any injury or damage that occurs when you are trying to repair your own tool.
|
|
2. Make Sure You Have the Right Replacement PartsOnce you've decided to fix your device, the next step is getting replacement parts. If you don't have a parts breakdown of your tool, this can be a real pain. Luckily, a lot of manufacturers post parts breakdowns online. Google will often lead you straight to the right parts breakdown, assuming you know your tool's brand and model number. But even if you find the right part number, you still might be out of luck. Manufacturers regularly discontinue old part numbers as new products move in to take the place of older models. You might be lucky enough to get an alternate replacement part number. You might not be so lucky. |
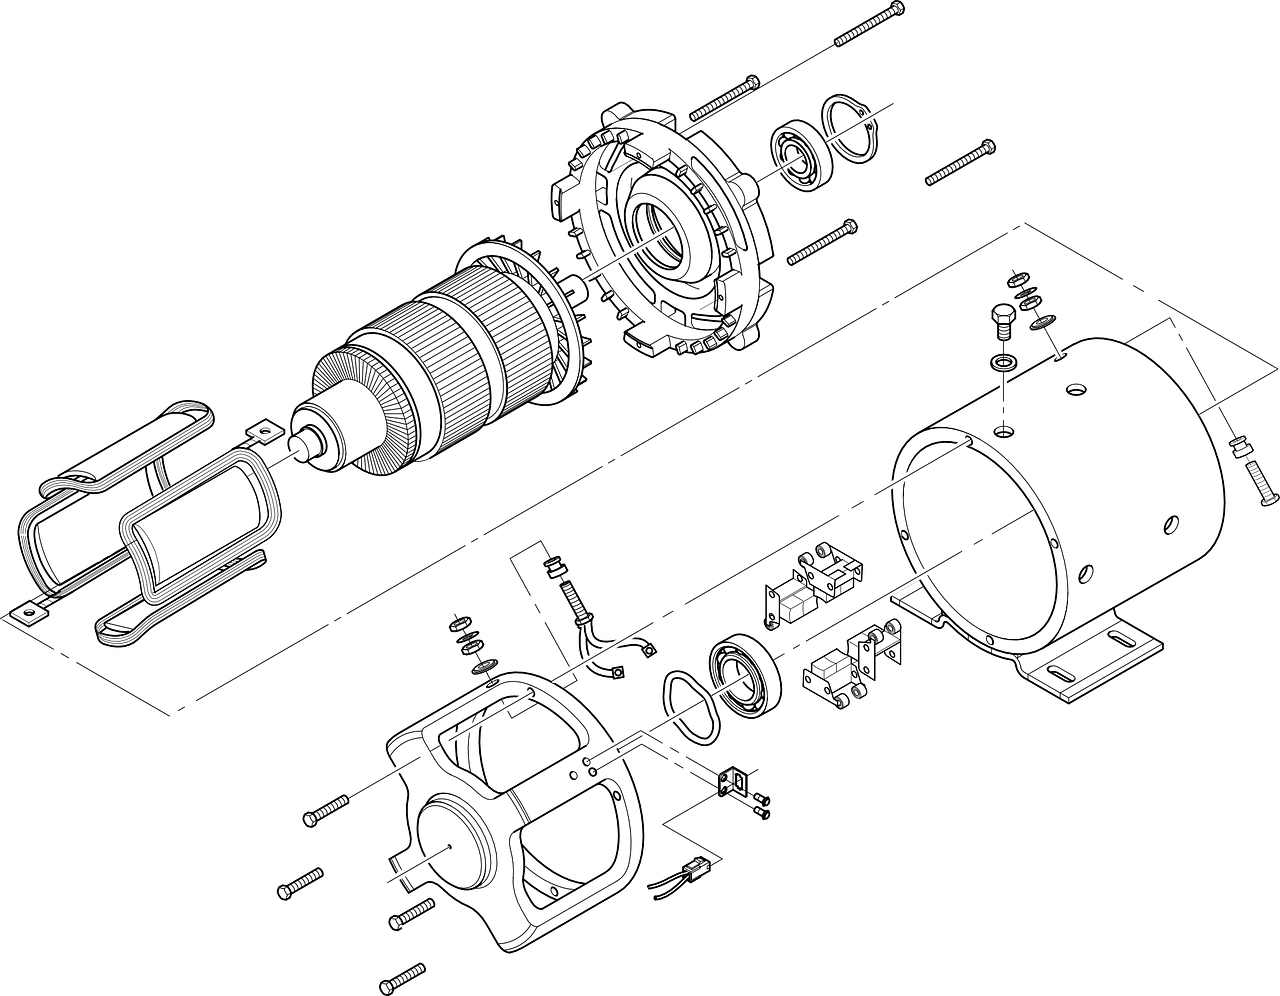
But there is still hope. Sometimes generic brands also produce parts that might work in your product. The hard part is knowing which part you need. I'd recommend taking your tool to a service center or tool store that uses or sells generic parts, especially if the replacement part will be expensive. It's better to let someone who knows what they're doing repair the tool and find the right part than it is to go online, buy the wrong part, and still end up with a broken tool.
3. Have the Right Tools on HandWhen you've found the right replacement part, you'll still need to make sure you have the tools you'll need for the repair. Exactly which tools you need will depend on which tool you need to repair, and which brand of tool it is. Even if you just need to undo a screws, they might be in a smaller size than any screwdrivers you have on hand. Some specialized parts may also require specialized tools for their installation. Online research might help with this, but there's no guarantee that you'll know exactly what you need until you have opened your tool up. Still, try to be prepared and have the tools you know that you'll need on hand before you begin the repair. |
|

4. Properly Prepare Your Work Area
Alright, so you have all the parts and tools, and you're ready to start fixing. You could just put everything on your workbench or kitchen table and go for it...or not. You should take a few minutes and prepare your work area, just to be sure that you don't end up creating any additional or future problems.
First, make sure your work surface is clean. You don't need any glue or other substances gumming up the works. Also make sure you have a large enough area to work in and space to lay all the parts out neatly. You'll need to make sure that you've removed any liquids that might spill and any objects that might fall onto or into the device. Don't forget to create a safe spot to put all the screws and small components you remove. Few things are more frustrating than crawling around the floor looking for a lost screw, or not being able to put the tool back together correctly because you lost a tiny washer.
|
|
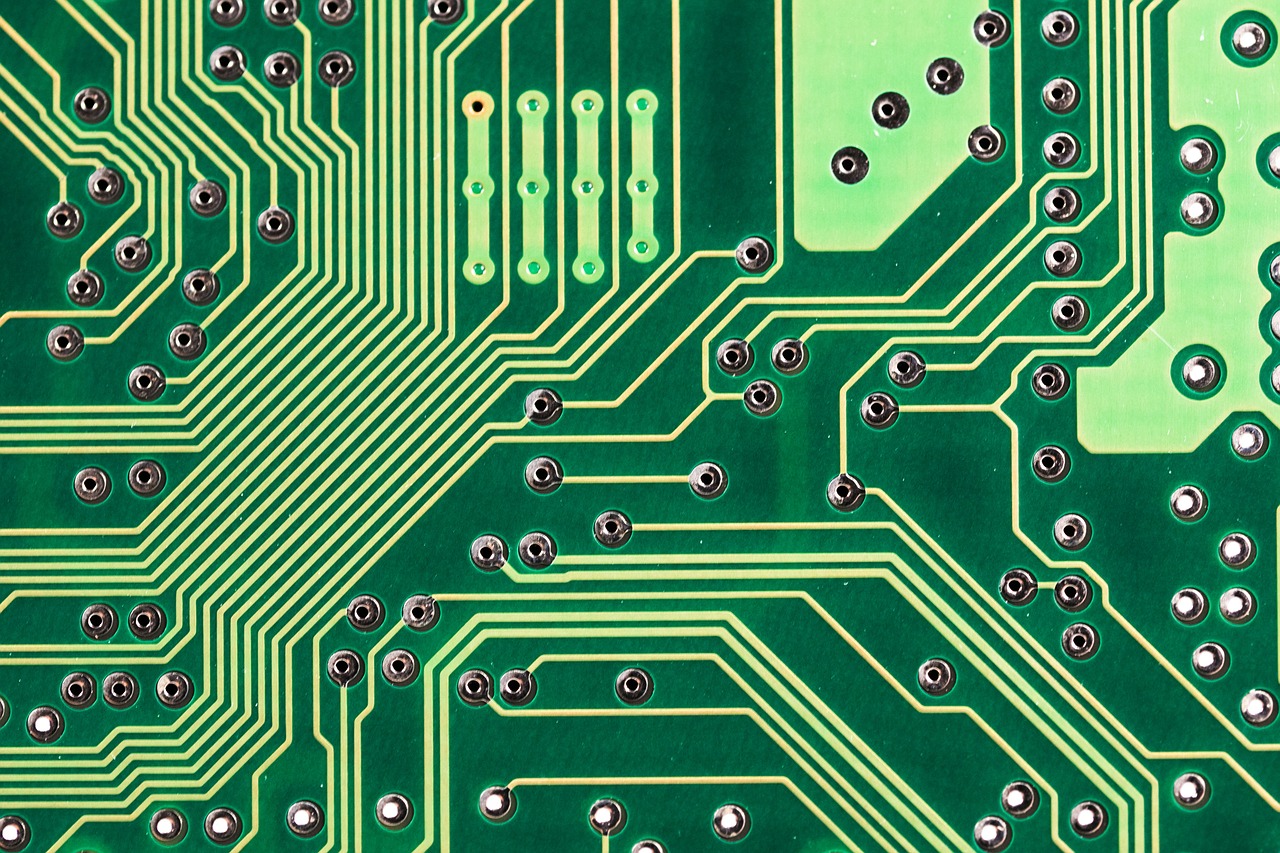
Lastly, consider electrostatic discharge (ESD) safety. This is important if your device uses electronic components. Static discharge can cause problems in electronics. This consideration won't be necessary for every tool out there. But if your tool does some of its own thinking, for example you've got a tool that automatically adjusts or that digitally measures the material it is working with, it's pretty likely that your tool has electronics incorporated into it. If you are replacing any kind of electronic chip, you definitely need to consider ESD safety. You can help prevent static discharge during your repair by wearing a grounding wrist strap, using non-metal ESD-safe tools, or using an antistatic mat. |
5. Don't Rush, Don't Force Anything, and Document the ProcedureWhile repairing your tool, don't rush the procedure. Rushing leads to mistakes. Take the time to make sure that you know what you are doing, and what needs to be done next. Taking longer than necessary won't hurt, skipping important steps might.Forcing parts to fit or to open means you're more likely to break the part, or even your tool. There might also be a good reason that something doesn't fit. If you're having trouble, double check to make sure that you're putting the right part in the right place, and that nothing else is out of place and getting in the way. |
|

Documenting the steps you take as well might seem like a pain. After all, the process seems pretty straightforward, doesn't it? Until you start putting the tool back together again. Taking pictures and notes as you go will definitely help when you go to put it all back together. Maybe it won't be necessary for every tool repair your do, but remember, it's better to be safe than to be sorry.
If something goes wrong and you end up not being able to fix the tool yourself, having a documented summary of what you did might help a professional repairman get your tool back in working order more quickly.
When done carefully and correctly, fix-it-yourself tool repair can definitely be the way to go to save money, and sometimes time as well. Some basic repairs are easy enough for beginners to do, and maybe you have the know-how you need to fix your own tool. Just remember to be careful, and please consider the above suggestions. We love it when you come to us for parts or repairs, and want you to have a successful experience no matter which option you choose.
All Images from Pixabay